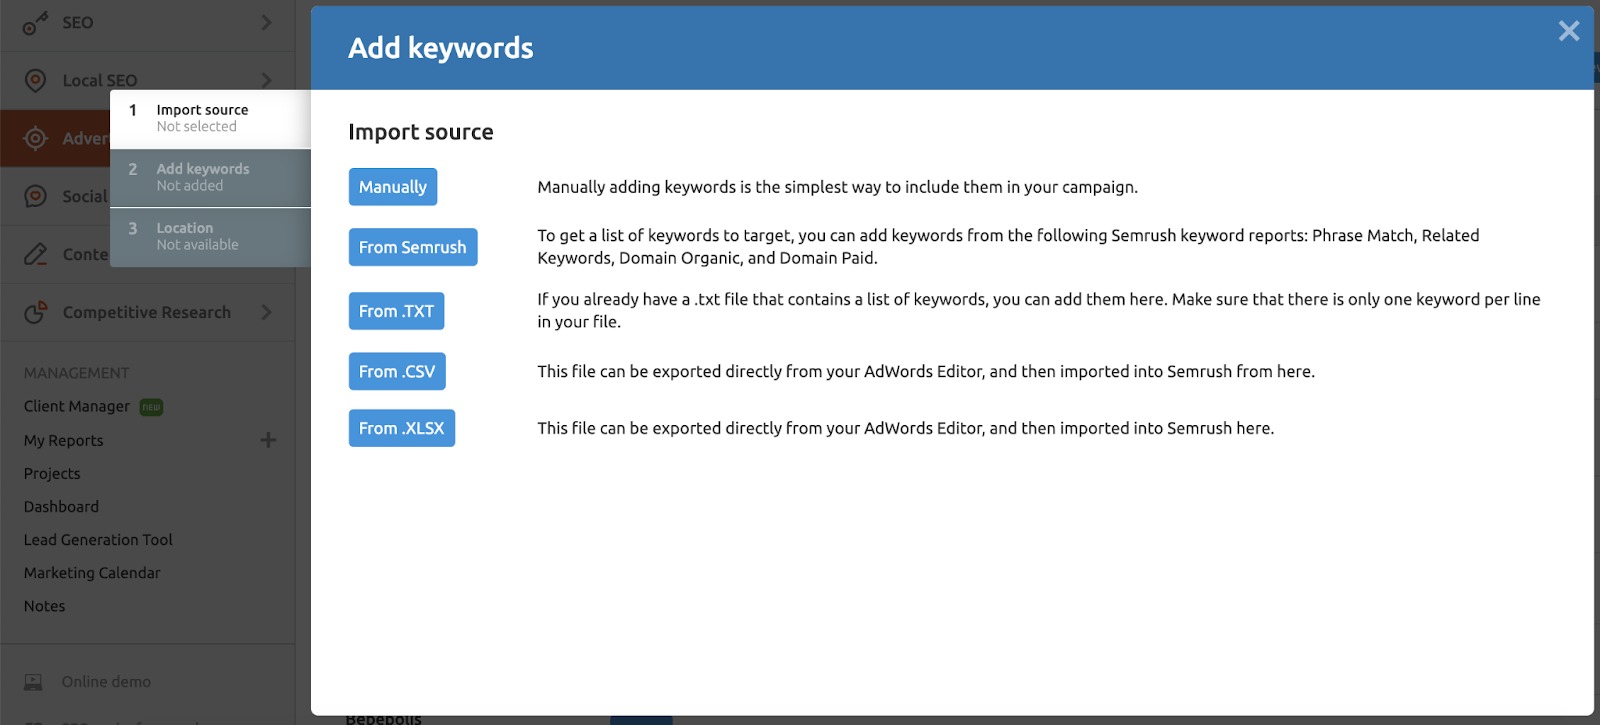
To configure the PPC Keyword Tool, you'll need to have a Project running for the domain that you are advertising. Find the tool in the Projects Dashboard and click Set up. The steps will ask you to provide your target keywords and geographic target. You can upload keywords manually, from a file, import an existing Google Ads campaign, or import keywords from a Semrush report.

After selecting the Setup button here, you’ll be taken to the setup wizard which will ask for you to select your database (US by default) and add your first set of keywords to start the tool. This tool supports all 138 regional databases and 18 mobile databases on Semrush. For the complete and up to date list of our databases, visit semrush.com/stats.

You can enter your list keywords manually, with a Semrush domain or keyword report, or by uploading a file of keywords and groups from Google Ads.
Adding Keywords from Semrush
When adding keywords from Semrush, you'll first have to add your keywords to the sandbox and then add them to a group.

You can import keywords directly from an organic positions domain report (to import a competitor's organic keywords), paid positions domain report (to import a competitor's paid keywords), phrase match keyword report, or related keywords report and Google related questions.
In the sandbox, you can combine keywords from multiple reports and review your complete list before adding them to your campaign.
When adding keywords you can also decide how you want these keywords grouped. You can select or create a new group, auto group or create single keyword groups.

Uploading a File
To upload a file of keywords from .txt, .csv, or .xls, simply drag and drop it into the setup window.
The best part about starting a project by uploading a file is that Semrush will automatically register cross-group negative keywords based on the groups your keywords are set up in.
If you have similar broad match keywords in different ad groups, you may expect one ad to show, but Google shows another ad instead. If you don’t have negative keywords set up on your ad groups, then Google won’t know exactly which ad from your campaign you wanted to show in the results. While your ads compete against each other, you waste your budget and Google may even lower the Quality Score of your ads as a result of their performance.
The best way to avoid “ad-poaching” in your campaign is with efficient negative keywords across your ad groups. These are called “cross-group negatives.”
By using the cross-group negatives function in this tool, you’ll avoid any crossover between groups and optimize your campaign. The tool automatically adds specific negatives to the groups where there could overlap in order to avoid any cross-group duplicates.

In order for the file to upload correctly, you’ll need to have four columns in your file:
1. Campaign name
2. Group name
3. Keywords
4. Match type of keywords
Once you assign the right column header to each column from your spreadsheet you can move on to the next step of the setup, your location. The database you choose for your campaign is where we will source the Volume and CPC metrics for all of your keywords.
Enter the country where you want to pull your data, and if you want to get more specific, enter a region and city as well. Region and city specifics are optional, so without entering a region or city, you'll pull data on the national level.

After adding your initial set of keywords, you'll be able to make further edits to your campaign in the interface. From there, you can add more keywords, create and modify groups, optimize with negative keywords, and ultimately export your campaign.
Further reading: How to Upload Your PPC Keyword Tool List to Google Ads